
How to Simplify Docker Builds with Jenkins Shared Library: A Comprehensive Guide


Introduction
Docker has become an essential tool for software development and deployment. It simplifies the process of creating and deploying applications by encapsulating code, runtime, system tools, libraries, and settings in containers. Dockerfile is used to define the contents of a container and automate the build process. However, as the project grows, managing and maintaining the Dockerfile can become complex and error-prone. This is where Jenkins Shared Library comes in handy. This article will discuss how to simplify Docker builds with Jenkins Shared Library.
What is Jenkins Shared Library?
Jenkins Shared Library is a mechanism for sharing reusable code between Jenkins pipelines. It enables developers to define a set of functions and classes that can be used across multiple pipelines. Shared libraries can be used to encapsulate complex logic, promote best practices, and reduce code duplication.
Setting up Jenkins Shared Library for Docker Builds:
Step 1: Create a new Git repository to store your shared library.
Step 2: Create a new directory in your Git repository called "vars".
The vars directory hosts script files that are exposed as a variable in Pipelines. The name of the file is the name of the variable in the Pipeline. So if you had a file called vars/cal.groovy with a function like def add(x,y) in it, you can access this function like cal.add(6,9) in the Pipeline. You can put as many functions as you like inside this file.
Step 3: Create a new file in the "vars" directory called "dockerBuild.groovy".
Step 4: Add the following code to "dockerBuild.groovy":
# just give your credentialsId for the docker repo that you have saved in the Jenkins credentials manager.
def login() {
    withCredentials([usernamePassword(credentialsId: '8a3bb0ae-9ff1-40e0-a0da-2ef7c1dc2cad', usernameVariable: 'username', passwordVariable: 'password')]) {
        sh """
            docker login --username="${username}" --password="${password}"
        """
    }
}

def build(String tag,String file_name) {
    def scriptcontents = libraryResource "Dockerfile"
    writeFile file:"Dockerfile", text: scriptcontents

    sh """
        docker build --build-arg file_name="${file_name}" -t "${tag}"  .
    """
}

def push(String tag) {
    sh """
        docker push "${tag}"
    """
}
Step 5: Create a new directory in your Git repository called "resources".
Step 6: Create a new file in the"resources" directory called "Dockerfile".
FROM centos:latest
RUN sed -i 's/mirrorlist/#mirrorlist/g' /etc/yum.repos.d/CentOS-*
RUN sed -i 's|#baseurl=http://mirror.centos.org|baseurl=http://vault.centos.org|g' /etc/yum.repos.d/CentOS-*
RUN yum update -y
RUN yum install httpd -y
ARG file_name
COPY ${file_name} /var/www/html
EXPOSE 80
CMD /usr/sbin/httpd -DFOREGROUND
This docker file can take file name on fly i.e you can build your docker image according to file provided by developer.
# Explanation of why we have used this function in step 4
def build(String tag,String file_name) {
# def scriptcontents = libraryResource "Dockerfile" so this function takes our Dockerfile from "resources" dir and uses it in a pipeline where this shared library is called.
    def scriptcontents = libraryResource "Dockerfile"
    writeFile file:"Dockerfile", text: scriptcontents

    sh """
        docker build --build-arg file_name="${file_name}" -t "${tag}"  .
    """
}
Step 7: Commit and push your changes to the Git repository.
Step 8: Go to the Jenkins dashboard and click on "Manage Jenkins".
Step 9: Click on "Configure System".
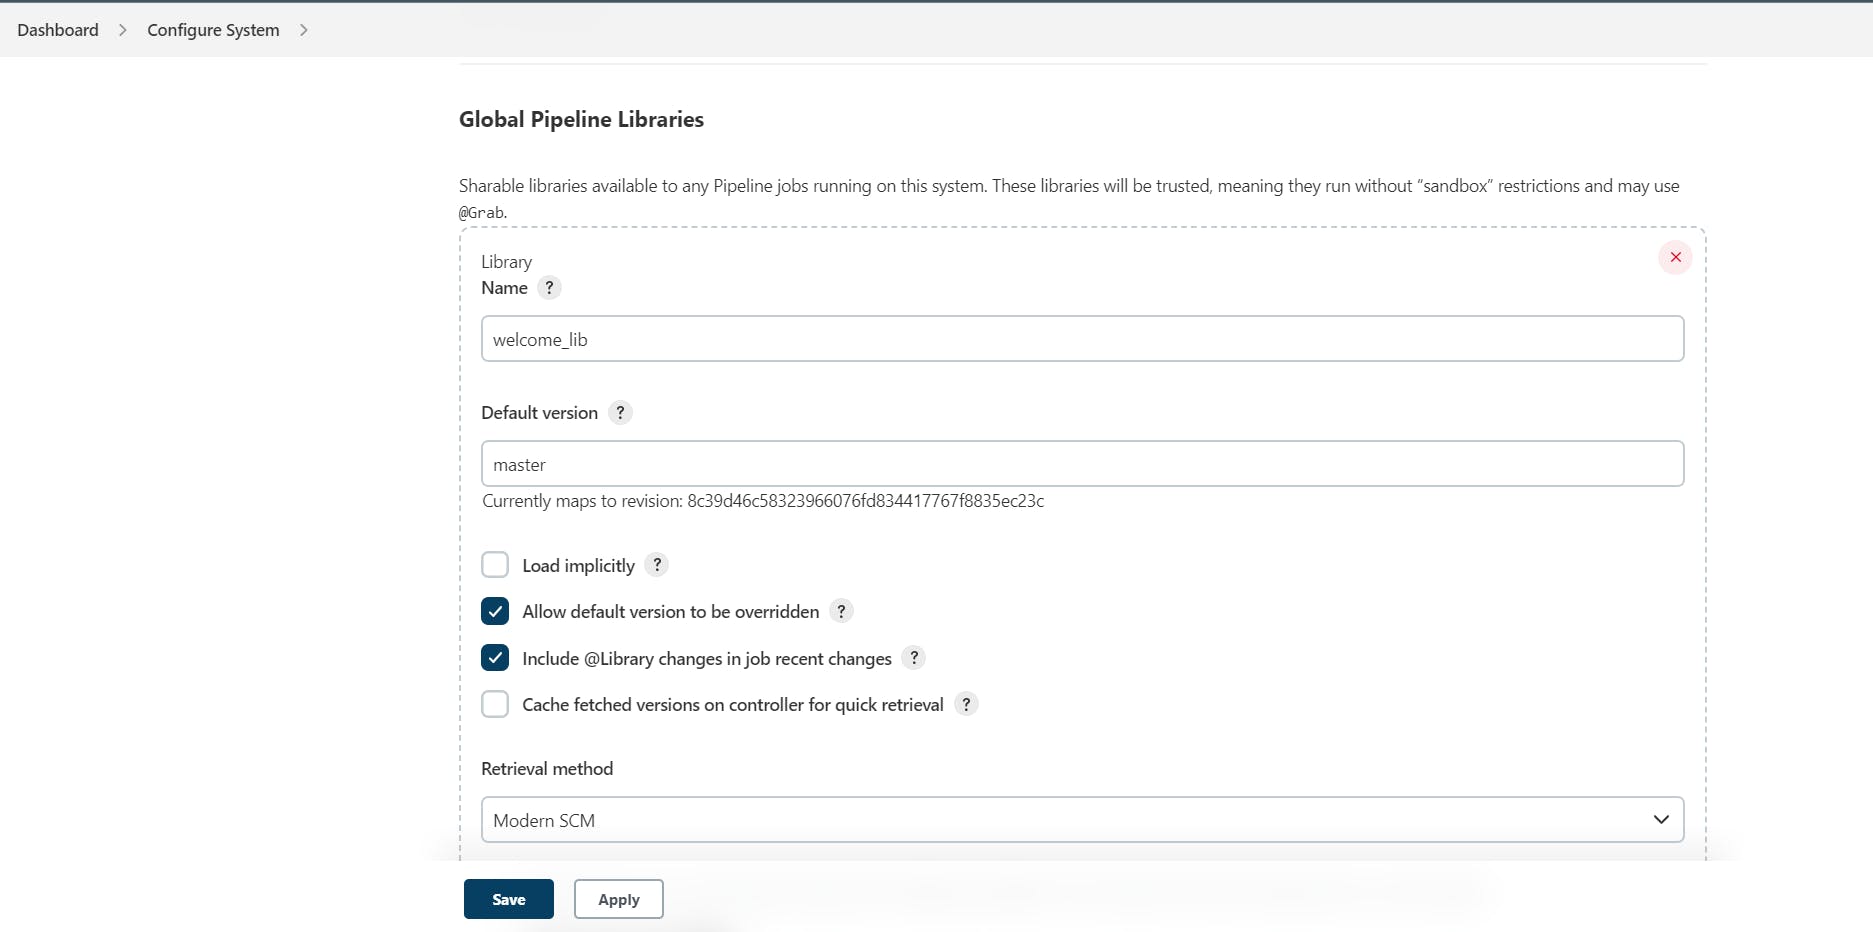
Step 10: Scroll down to the "Global Pipeline Libraries" section and click on "Add".
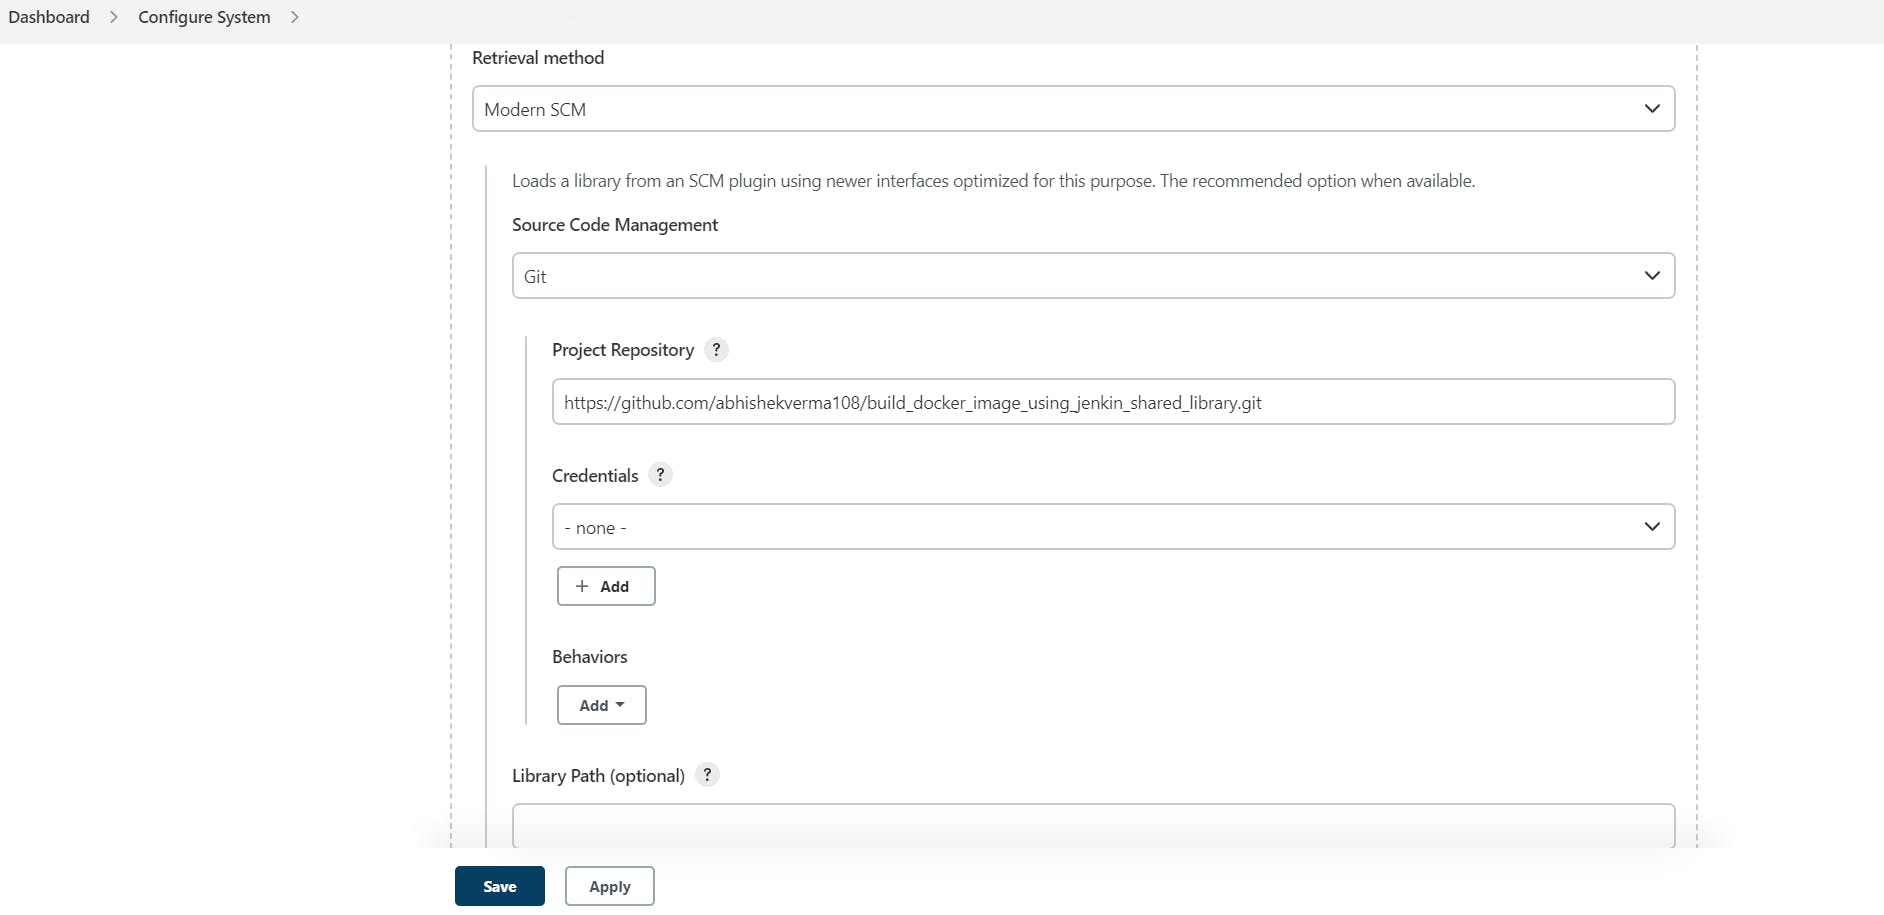
Step 11: Enter the name of your shared library, the Git repository URL, and the version number.
Here's an example of how to use Jenkins Shared Library for Docker Builds:
Step 1: Create a new Jenkins pipeline.
Step 2: Add the following code to the pipeline:
@Library('welcome_lib') _
pipeline{
    agent any
    stages{
        stage('scm'){
            steps{
                git 'https://github.com/abhishekverma108/webfiles.git'
            }

        }
        stage('build'){
            steps{
                welcome("abhishek")//by default it look for call function
                script{
                    cal.add(6,9)//but if we have to write function with                      different name than we use script name than function name
                    helloWorld(name:"Abhishek",dayOfWeek:"Monday")
                    dockerBuild.login()
                    dockerBuild.build("abhishekverma109/app:latest","index.html")
                    dockerBuild.push("abhishekverma109/app:latest")
                }
            }
        }
    }
}
Here you can pass your own GitHub repo url in stage scm, where you have your web files.
Step 3: Save and run the pipeline.
This pipeline uses the "welcome_lib" function from the shared library to build a Dockerfile named "Dockerfile". You can customize this pipeline to suit your needs by adding more stages, steps, and functions.
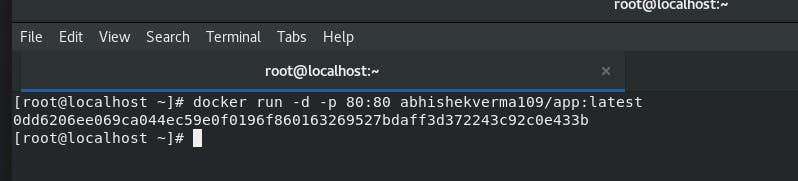
Step 4: Launch container from the image we have created.
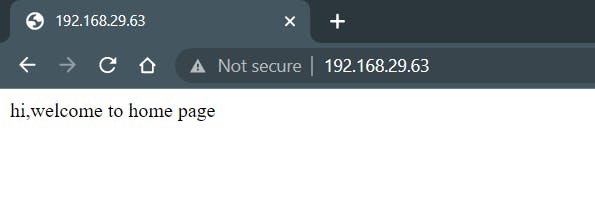
Step 5: Browsing our webpage.
Take a look at this repository for all the necessary code.
Conclusion:
Jenkins Shared Library can help simplify Docker builds by encapsulating complex logic and promoting best practices. By following the steps outlined in this article, you can set up and use Jenkins Shared Library for Docker builds in your projects. Remember to always test your code and keep your shared library up to date with the latest best practices and security patches.
Thank you for reading, and wishing you the best of luck in your future projects!